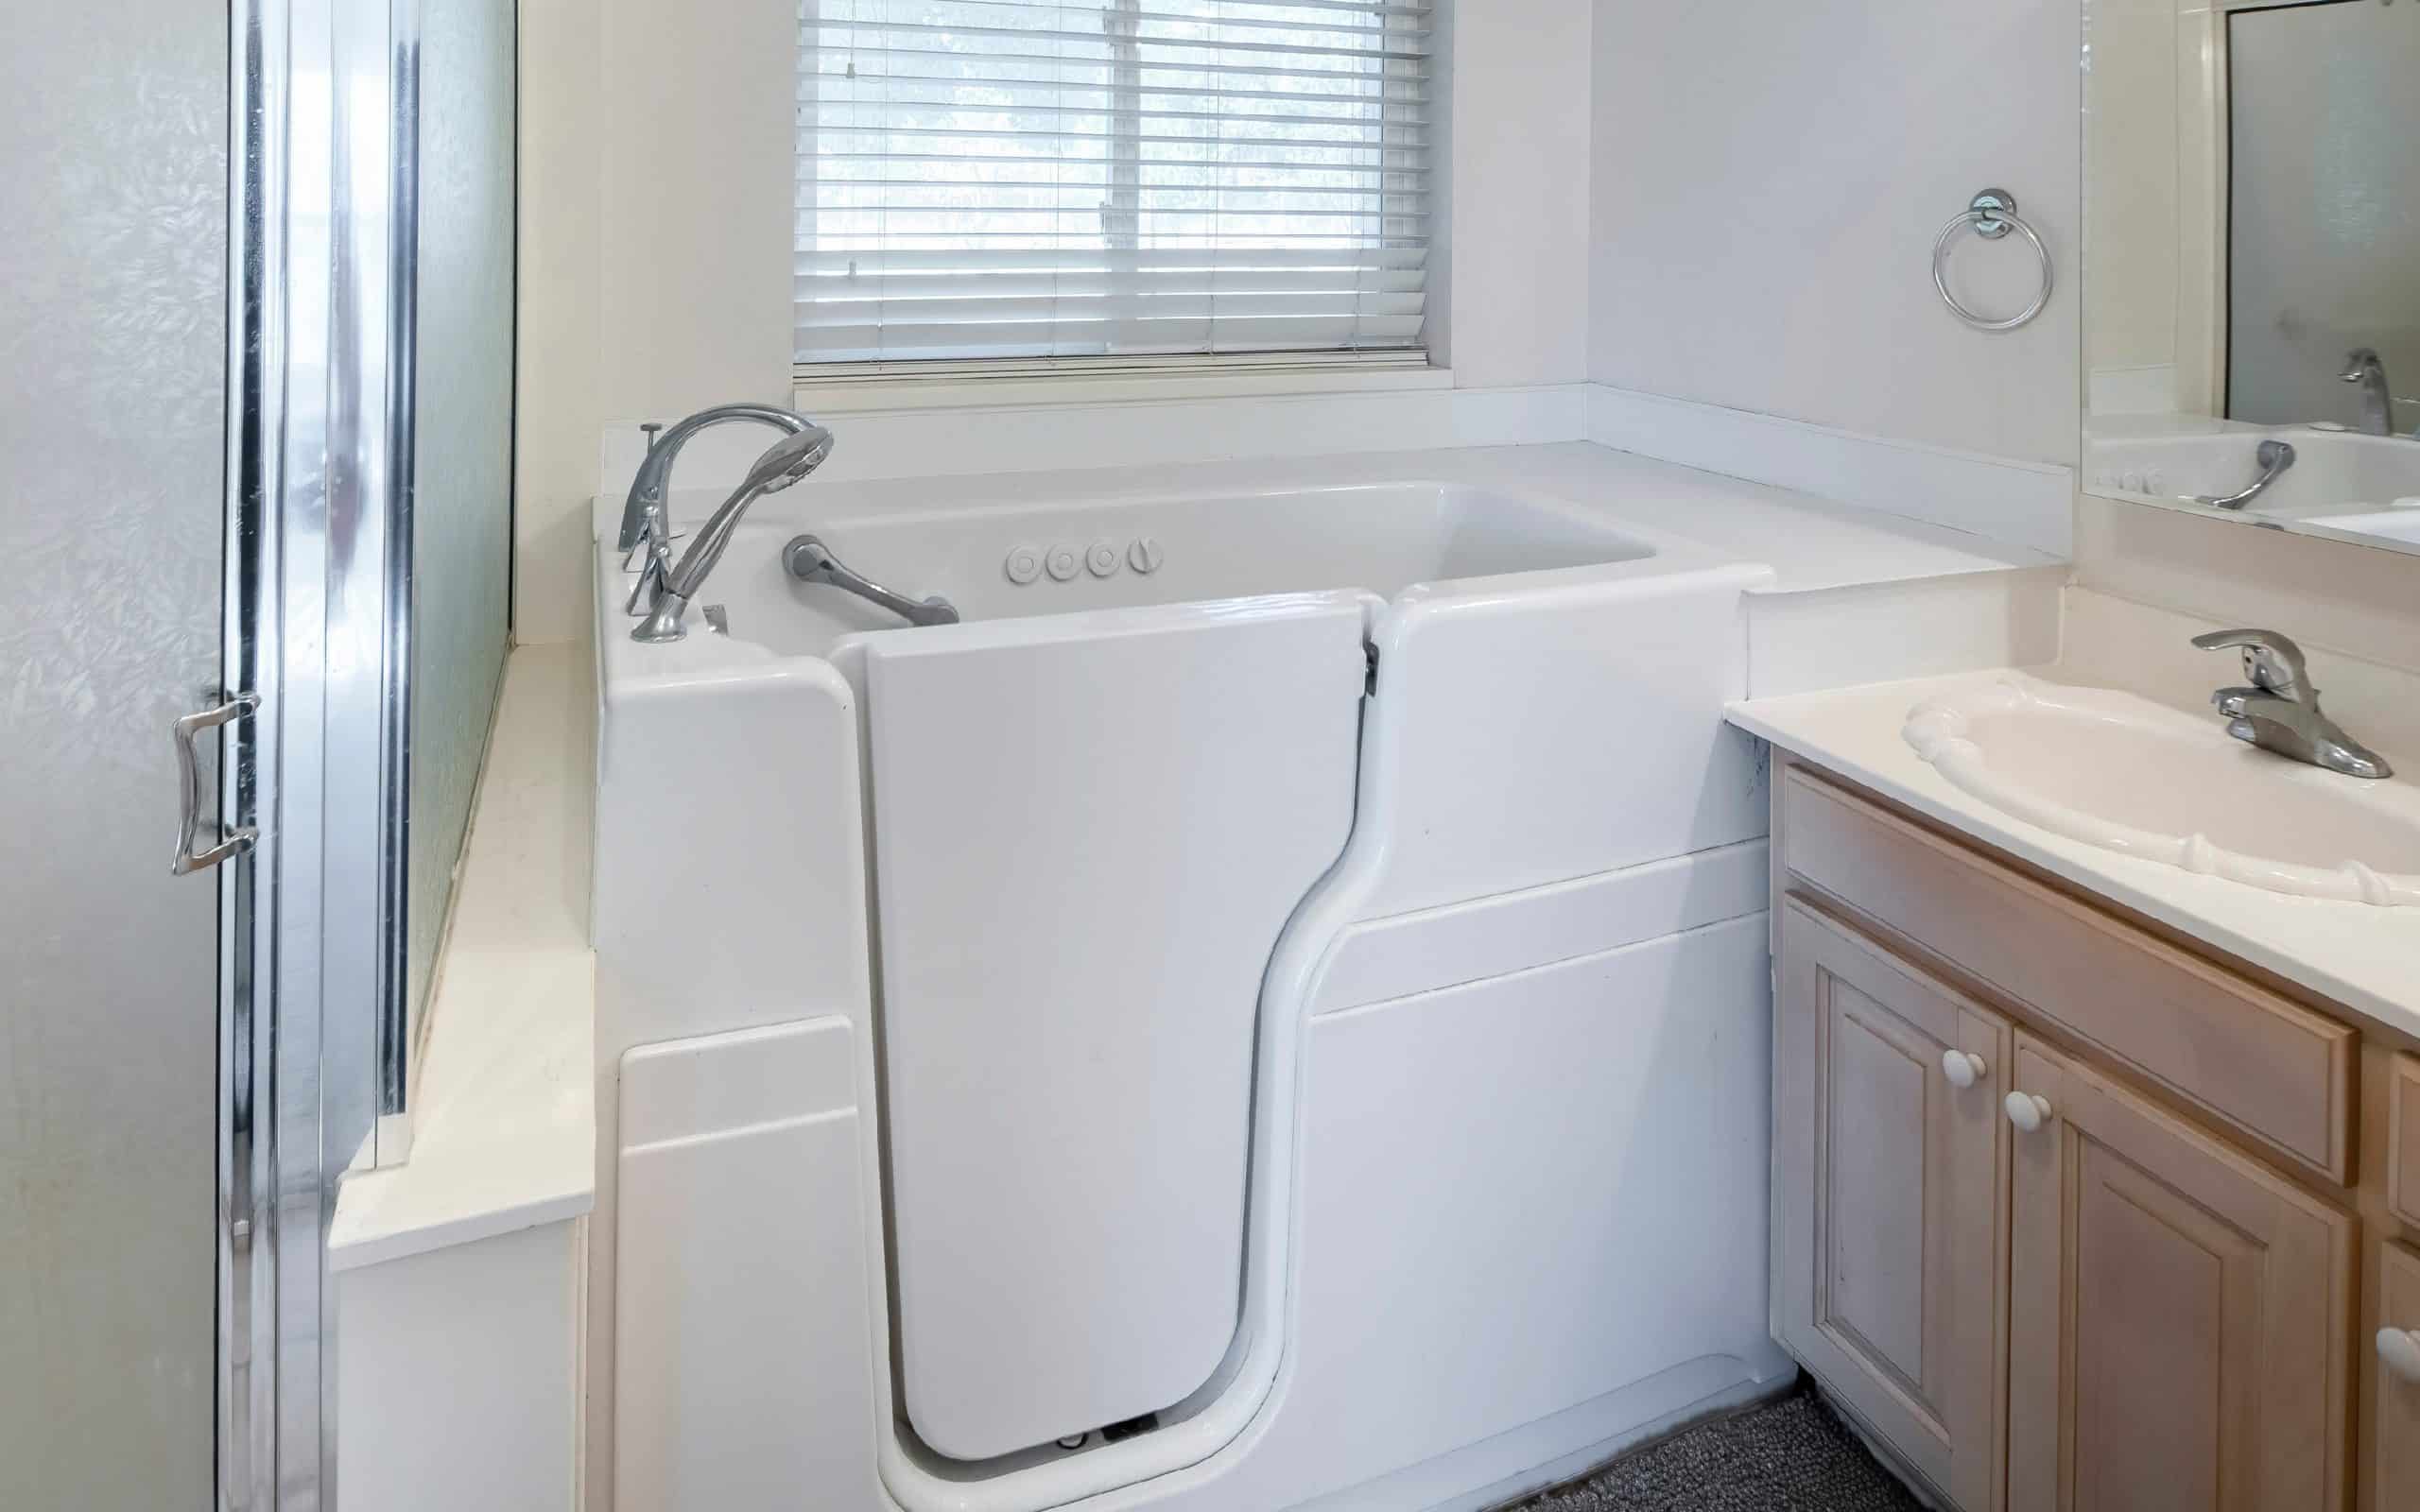
The bathroom is one of the most-used rooms in the house. It also happens to be the most dangerous. According to the Centers for Disease Control and Prevention (CDC), around 80 percent of injuries in the bathroom are caused by slips and falls.
The bathroom can be especially hazardous for older adults and people with limited mobility. Hundreds of thousands of people visit the emergency room every year to be treated for serious injuries in the bathroom. For more on bathroom safety click here.
Thankfully, there are many products available that can help reduce the risk of slipping and falling in a bathroom. One of those is the tub cut-out which can provide increased safety and accessibility for individuals with limited mobility or those who have difficulty entering and exiting the bathtub.
This guide provides a helpful overview of tub cut-outs and what it takes to install one in your home.
What Is a Tub Cut-Out?
A tub cut-out is a section of the bathtub that is removed and replaced with a panel that allows a person with limited mobility to enter and exit the tub easily. This panel is typically made of acrylic or fiberglass and has a smooth, non-slip surface. It is designed to fit snugly against the edges of the cutout area and can be installed in any size bathtub.
Benefits of Installing a Tub Cut-Out
The main advantage of installing a tub cut-out is improved accessibility. A tub cut-out ensures easier access to the bathtub and eliminates the danger of slipping or tripping. For older adults and those with limited mobility, a tub cut-out can be a literal lifesaver.
Installing a tub cut-out also provides increased safety for all users of the bathtub. Bathers can enter and exit the tub without stepping over a high tub wall, reducing the risk of injury.
A tub cut-out is also a more cost-effective solution than removing an old tub and installing a whole new one. With the right tools or professional assistance, it is an affordable home improvement solution that also adds value to your home.
Installing a Tub Cut-Out
If you’re considering installing a tub cut-out in your home, we highly recommend hiring a professional contractor or handyman to do the work for you. Unless you have sufficient experience with power tools, tiling, and other tools — as well as all the required safety gear — it’s best to leave this job to the experts. Tub cut-outs provide accessibility into the tub but limit the amount of water that can be kept standing in the tub. If you need to soak in a full tub, this may not be the solution for you.
That said, it can be helpful for homeowners to understand the installation process so they know what to expect. Here’s a brief, step-by-step guide to the basics of installing a tub cut-out.
Step 1: Prepare the Bathroom
The first step in installing a tub cut-out is to prepare the work area. This includes removing any materials around the bathtub area and clearing away any dust and debris from the space.
To prevent debris from falling into the drain, the installer will cover it with a piece of cloth or tape. If any tiles or other materials need to be removed, the installer will use a hammer and chisel to clear the area along the floor (wearing safety goggles and gloves when doing so). Once all of the tiles/materials are removed, they’ll vacuum up and wipe away any dust and debris from the area.
Step 2: Install the Tub Cut-Out
Once they have prepared the bathroom, the installer will use a jigsaw (a handheld power tool that can cut in any direction) to carefully cut out a section of the bathtub that has been measured to fit the conversion kit they’ll be installing.
After cutting the section, they’ll use sandpaper to smooth any rough edges. This will help ensure that the panel fits snugly when installed. Next, the installer will place a flange around the edges of the cutout area and secure it in place with screws.
The installer will use a level to make sure that the cutout area is level with the rest of the bathtub, helping to prevent water from leaking out of the panel when in use.
Step 3: Finishing Touches
After installing the tub cut-out, the installer will lay down tiles around the edges of the cutout area to match any existing tiles in your bathroom. They use grout to seal the tiles in place and make sure they are all even.
Ideally, the installer should also secure a grab bar beside and/or above your tub cut-out to provide extra stability when entering or exiting your tub.
The last step is to apply caulk around any edges of your tub cut-out to prevent water from leaking out. Allow it to dry fully before using your tub again.
Find Help with Havenside
Installing a tub cut-out is a great home modification that will help keep your loved ones in your home safer. While a tub cut-out requires some careful preparation, proper tools, and attention to detail, it is worth the effort, especially if you have older adults or residents with mobility limitations.
If you have questions about the types of tub cut-outs available, how to install one or find professional installation services, or how to pay for accessible modifications in your home, please contact the team at Havenside. We’re your local experts in helping homeowners and residents age in place and enjoy living in their homes for years to come.

